A First-Night Camera Plan for Northern Lights Photography
A first aurora photography evening becomes easier when the camera is ready before the sky changes. You do not need to master every technique at once. Start with a stable setup, a simple composition and a method for checking focus and exposure. This is an original beginner workflow informed by manufacturer guidance, not a universal settings recipe or a promise of dramatic photographs on any particular night.
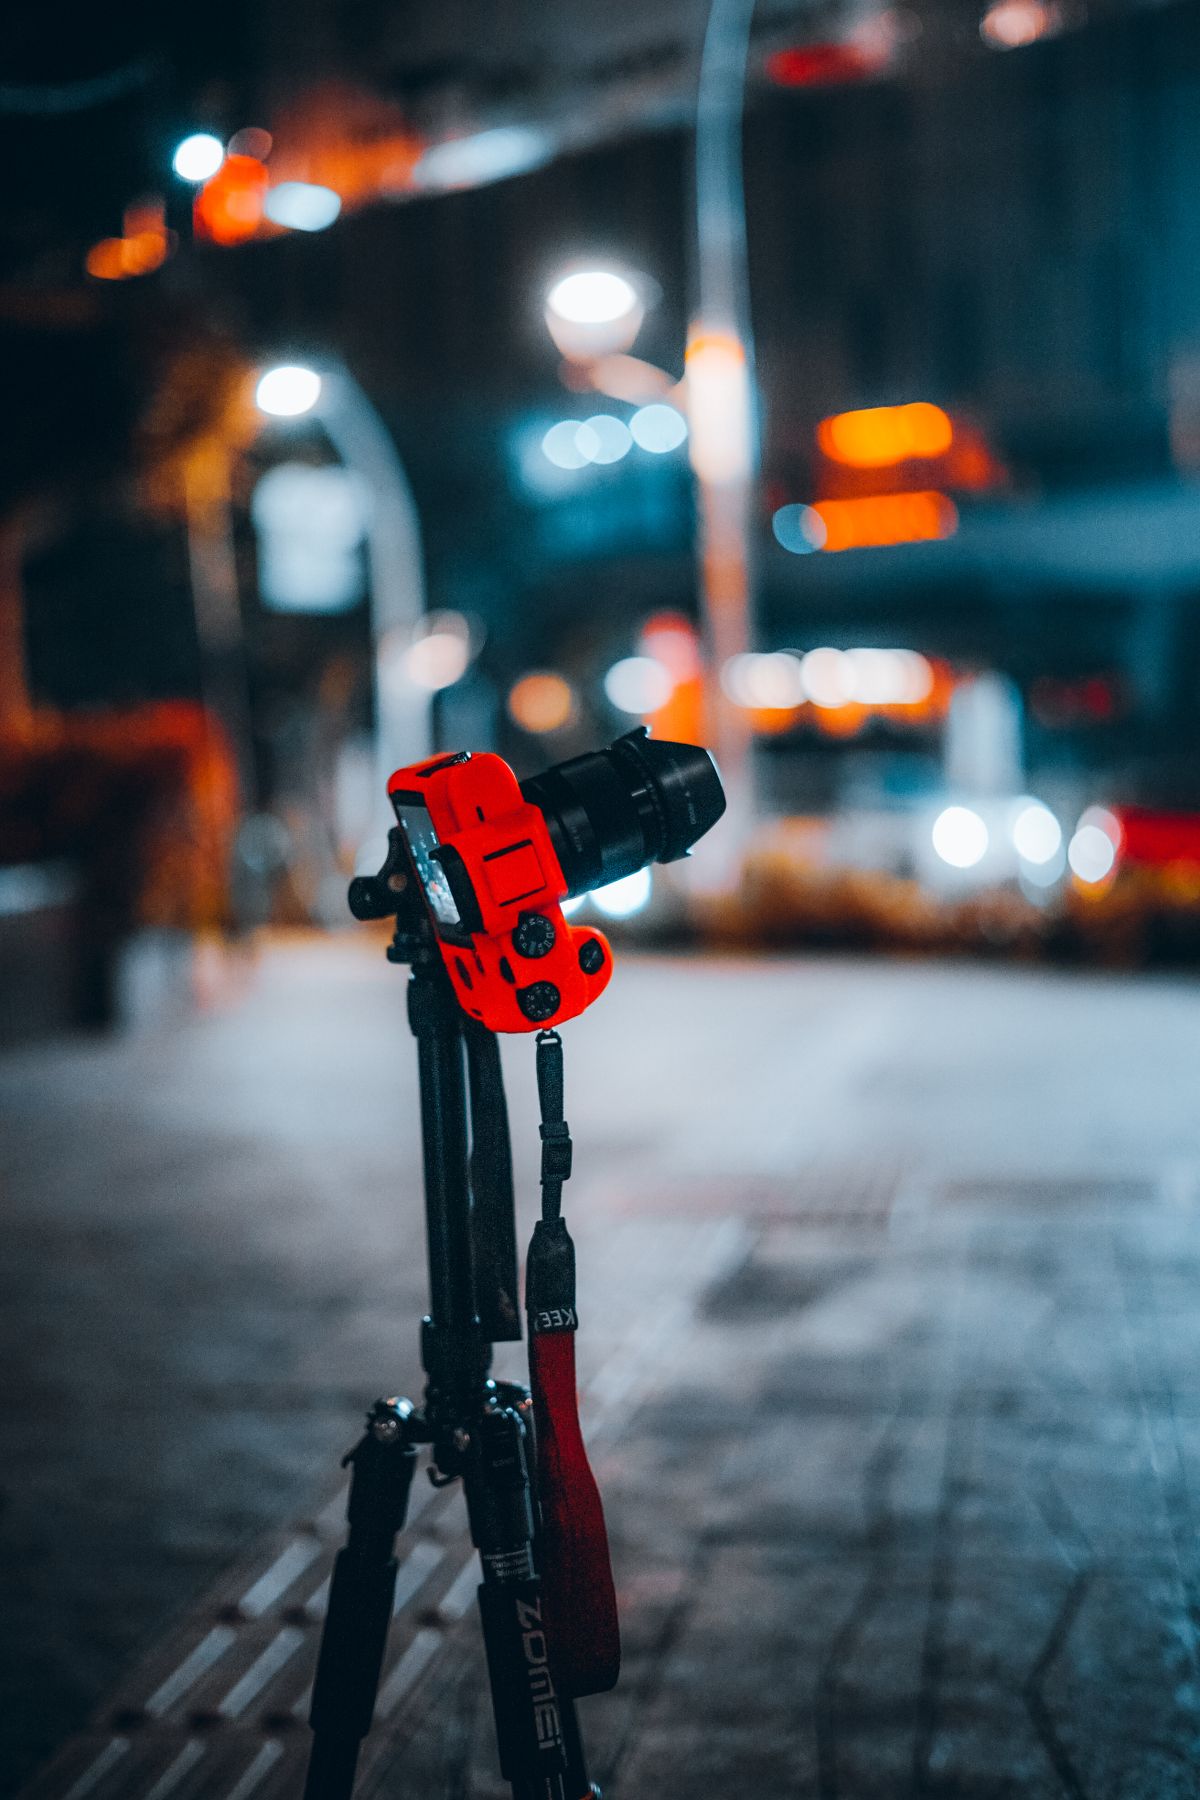
Photo: Pexels · Pexels License. Illustrative photograph of the subject; not a tested result, current condition report or endorsement. Display may crop the original.
Prepare a limited equipment set
Choose the camera and a lens you know how to use, a stable tripod and an appropriate release or timer. Read the manufacturer's guidance for low light and the actual operating conditions. A wide view can be useful, but do not assume buying a new lens is the only way to begin. Practice mounting the camera and finding controls at home. Remove unnecessary accessories that complicate movement in the dark.
Choose a suitable place before composition
Work within the permitted viewing area and the guide's boundaries. Set the tripod where it will not obstruct a path, road or other travelers. Do not approach an unfamiliar shore, frozen surface or steep ground to improve the foreground. A simple safe composition is enough for a first night. Know the return route and warming location before concentrating on the camera, because darkness makes spatial awareness more demanding.
Check focus with a test rather than a symbol
Use your camera's appropriate low-light focusing method and inspect a test image at magnification. Do not assume turning a focus ring to its infinity mark guarantees sharp stars on every lens. Follow the manufacturer's instructions and adjust carefully. Recheck after changing the lens, zoom or camera position where relevant. A sharp foreground alone does not establish that the distant sky is focused as intended.
Make an exposure and inspect it
Use the camera controls you understand to make a first test, then review brightness, highlights and movement. Adjust aperture, shutter duration or sensitivity one at a time according to the scene and device. Manufacturer examples provide starting ideas, not a fixed recipe for every display. Avoid changing several variables together and losing track of what improved the result. A clear sequence is more useful than rapidly cycling through remembered internet settings.
Respond to moving aurora
A rapidly changing display and a faint static arc may call for different exposure choices. If the lights blur while the foreground stays sharp, consider whether the exposure records too much movement for the intended result. A shorter exposure may help but changes other tradeoffs. Accept noise or a less bright image where that better records structure. Do not judge the frame solely by how luminous it looks on a bright rear screen.
Keep the foreground modest and honest
A simple silhouette or landscape can give context without requiring complicated artificial lighting. If including people, obtain consent and keep the pose brief and comfortable. Follow group lighting guidance and avoid shining lights into other cameras. Do not combine scenes from different places or nights and present them as a single documentary photograph. Creative composites are a separate artistic choice and should be labeled accordingly when published.
Manage batteries and cold-weather handling
Start charged and keep appropriate spare power available according to device and travel rules. Follow manufacturer guidance when moving equipment between cold and warm environments. Keep controls usable with suitable hand protection and avoid risky improvised warming methods. Check the tripod and camera remain secure before leaving them unattended even briefly. The gear should never draw attention away from footing, the group boundary or the agreed return time.
Save a small repeatable sequence
Record the settings used on a promising frame and make a few variations rather than filling the entire evening with random changes. Keep originals and back them up after the outing. Note what was visually apparent and what the exposure revealed. Then spend time looking directly at the display. A first night succeeds when you learn a reliable workflow and enjoy the setting, even if the strongest image waits for another trip.
Your working checklist
Checkmarks stay in this browser when storage is available. They do not submit information or complete a purchase.
Put it into practice
- Practice mounting and essential controls before travel.
- Choose a permitted stable position and identify the return.
- Check focus through a magnified test image.
- Make one exposure and adjust one variable at a time.
- Compare foreground sharpness with aurora movement.
- Keep lighting, hand warmth and equipment handling considerate.
- Save originals and a short repeatable settings record.
Before you finish
- Tripod placement respects paths and boundaries.
- Focus is checked rather than assumed from a lens mark.
- Exposure examples are not treated as universal settings.
- Composites and substantial alterations are labeled honestly.
Common questions
What camera settings always work?
There is no universal combination. Lens, sensor, display movement, brightness and creative intent differ. Use manufacturer guidance as a starting point, make a test and adjust one variable at a time.
Should I focus at the infinity mark?
Do not assume the mark guarantees the intended result. Use the camera and lens's appropriate focusing method and inspect a magnified test. Recheck after relevant changes.
Is a brighter photograph always better?
No. More brightness can sacrifice detail, increase noise or blur moving structure. Choose the exposure that supports the image you want and keep expectations about visual intensity honest.
Do I need a completely new camera?
Not necessarily. Learn the equipment you have and understand its limits before buying. Familiar controls, stable support and a simple workflow can be more useful on a first outing than unfamiliar expensive gear.