Northern Lights Phone Photos: A Simple Setup and Realistic Expectations
A modern phone may capture Northern Lights, but results depend on the device, conditions, stability and the display itself. You do not need to promise a dramatic image to make the evening worthwhile. This is an original first-night workflow, not a claim that every phone has the same controls. Check your device manufacturer's instructions and practice before departure, while keeping warmth, permitted access and ordinary viewing ahead of photography.
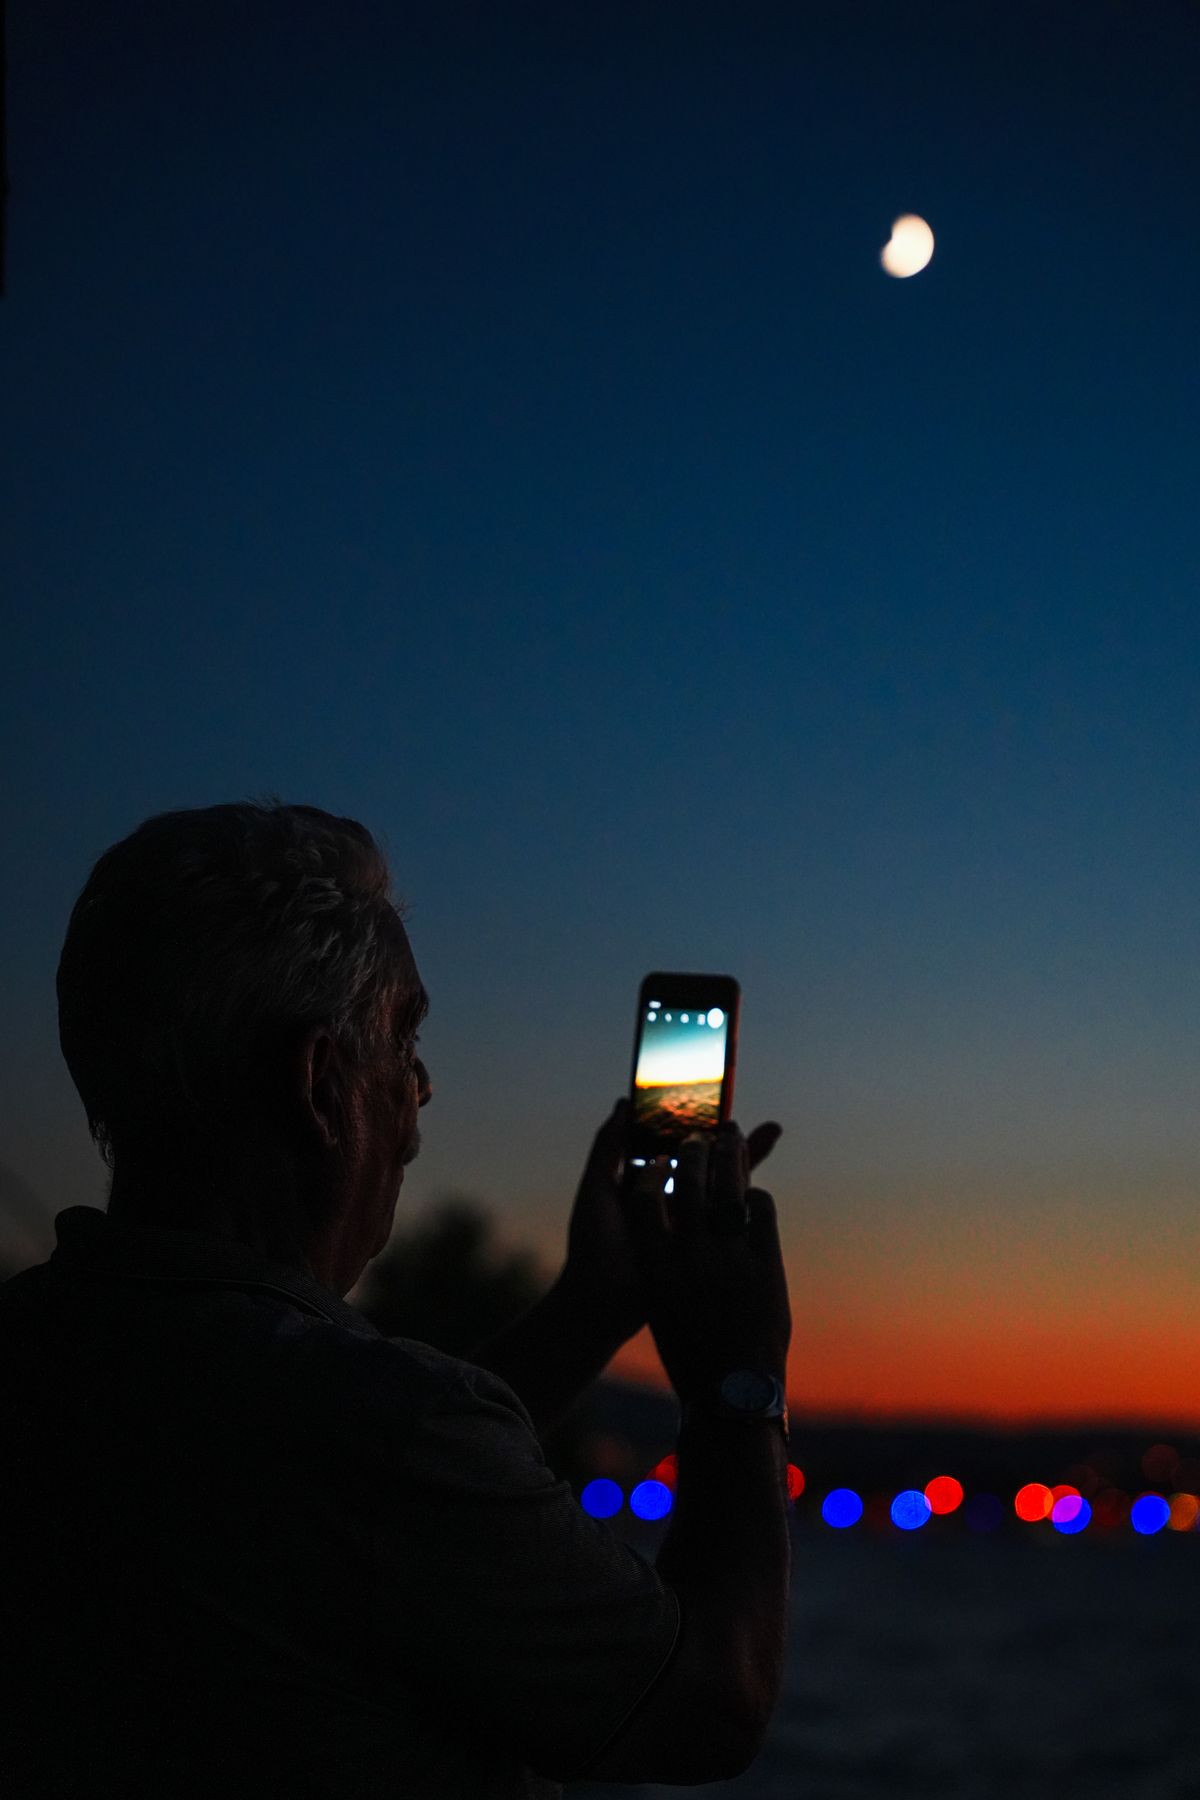
Photo: Pexels · Pexels License. Illustrative photograph of the subject; not a tested result, current condition report or endorsement. Display may crop the original.
Learn the actual phone before travel
Find the camera's low-light or night mode, its supported lenses and any available exposure controls. Read the current manufacturer guidance for your model. A feature described for a different phone or software version may not exist on yours. Practice in a suitable dark setting at home so you can open the camera, choose the mode and review a frame without searching menus with cold hands. Keep the setup simple enough to remember.
Choose stability over extra accessories
Use a suitable tripod or stable support with a secure phone mount where permitted. Check that the setup does not obstruct other people, a path or a vehicle area. A longer exposure records movement from the phone as well as the sky. If available, use a timer or remote method to reduce the movement caused by touching the shutter. Test the mount in advance; a loose clamp is not improved by a darker location.
Clean and inspect the lens
Check for fingerprints, moisture and glare before assuming the camera is defective. Use the device's appropriate cleaning guidance and keep it protected from precipitation. Avoid adding a decorative filter or accessory without knowing its effect in low light. Look at a test frame for reflections from nearby lamps. Move only within the suitable viewing area and do not step onto unfamiliar ground to remove a light from the composition.
Make one controlled test frame
Frame a simple scene with sky and a modest foreground, then use the available low-light mode. Review whether the phone remained stable and whether bright lights dominate. Change one variable at a time where the device permits it, such as exposure duration or framing. Do not interpret a brighter image as automatically better; it can lose detail or exaggerate noise. There is no single setting that guarantees a good aurora image on every phone.
Distinguish display movement from camera shake
If the foreground is sharp but the lights appear soft, the aurora may have moved during the exposure. If everything is blurred, stability or focus may be the issue. Use the phone's available controls and manufacturer guidance rather than repeatedly buying new apps during the outing. Try a shorter exposure if supported and appropriate, but accept the limitations. A phone is a recording tool, not a reason to spend the entire display troubleshooting.
Manage power without unsafe workarounds
Start charged, carry an appropriate power bank if allowed and follow airline and device battery instructions. Keep equipment within the manufacturer's operating guidance and protected from conditions. Reduce unnecessary screen time and know where the charging cable is. Do not attach improvised heating systems or cover a device in a way that conflicts with its instructions. The equipment plan should be simple, reliable and secondary to the traveler's warmth.
Be considerate with light and people
Dim screens where practical, avoid shining lights into other cameras and ask before photographing identifiable companions. Follow the guide's lighting instructions. Do not use flash expecting it to illuminate the aurora; it can affect nearby people and foreground exposure instead. If making a portrait, coordinate the setup in an appropriate area and keep the subject warm. A posed image should never require unsafe ground or blocking the group route.
Edit and describe the result honestly
Make modest adjustments according to your creative preference, but avoid presenting a heavily altered scene as a literal record of visual intensity. Keep the original file and note the location and date accurately. Do not label a generic photograph as a named destination. Put the phone away for part of the display and enjoy it directly. A clear honest image and a memorable evening are better goals than recreating a promotional photograph at any cost.
Your working checklist
Checkmarks stay in this browser when storage is available. They do not submit information or complete a purchase.
Put it into practice
- Practice the actual low-light mode before departure.
- Secure the phone in a permitted unobstructive position.
- Inspect the lens and make one test frame.
- Change one available setting at a time.
- Review foreground sharpness and display movement separately.
- Keep power, warmth and lighting considerate.
- Save the original and describe any editing and location honestly.
Before you finish
- Instructions match the actual phone model.
- The mount is secure and does not obstruct access.
- No image is promised to match promotional colors.
- Direct viewing remains part of the evening.
Common questions
Can every phone photograph aurora?
No result is guaranteed. Device capability, stability, sky conditions and the display all matter. Learn the actual model's low-light features and test them, while accepting that some nights or devices may produce limited images.
Do I need a tripod?
A stable suitable support can help with longer low-light exposures. Use a secure mount where allowed and avoid obstructing others. The important factor is stability, not buying a particular brand of accessory.
Why does the photo look brighter than the sky?
The camera can collect light over time and process it differently from human vision. That does not mean every viewer saw the same intensity. Keep the original and describe the result honestly.
Should I use flash?
Flash does not illuminate a distant aurora. It can change foreground exposure and disturb nearby people. Follow the guide's lighting instructions and use a simple setup suited to the actual scene.